
Every now and then, I find myself making this type of quick little blanket for my boys.

This one, for example came about from my 3-year-old's current obsession with Sulley from "Monsters University" and a trip to the fabric store where he spotted some Sulley fabric.
This one, for example came about from my 3-year-old's current obsession with Sulley from "Monsters University" and a trip to the fabric store where he spotted some Sulley fabric.
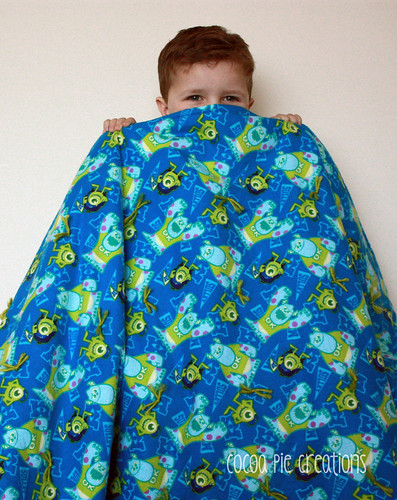
I'm not going to take the time to make a pieced quilt out of something he will probably outgrow within the next year. And besides, when you are three, you want your Sulley blanket RIGHT. NOW.
That is where a quick and easy tied blanket comes in. Minimal work for me, and he gets his new Sulley blanket by bedtime.
This type of blanket is also a super fast option for baby-sized charity blankets.
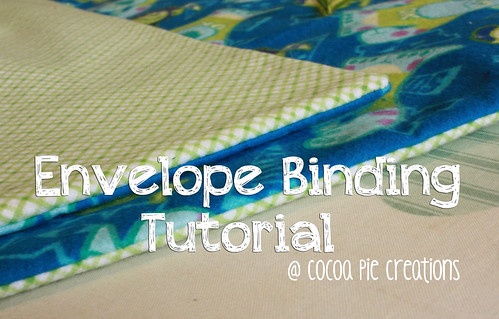
One thing I like to do on this type of blanket is an envelope binding. I think it makes the blanket look nicer and neater than a folded edge binding, and doesn't take as much time or effort as the traditional strip binding that you would normally see on quilts.
Here is a quick tutorial on how I create an envelope binding.
First, choose your fabric. I got 1 1/2 yards of both the top and bottom fabrics for this blanket. After washing, trimming and sewing, this blanket measured about 40 x 50 inches. I used flannel, but you could definitely use quilting cotton, or a combination of both, if you want.
I choose to wash my fabric for these quilts, because I am only tying them, not quilting, so I don't want them to shrink too much after they have been tied. You can choose to wash or not.
After the fabric has been washed, I press it and square it up, just like I would before cutting any fabric. Then I trim my fabric into two, equally-sized pieces.
Cut your batting out to the same size as your fabric pieces. (I used a low loft polyester batting in this blanket because I wanted it to have a bit of puffiness. Feel free get a higher loft batting to make an even puffier blanket, but I will say from experience that it is harder to work with.)
Lay your fabric down in this order:
1 - top piece, right side UP
2 - Bottom piece, right side DOWN
3 - batting on top of the bottom piece

Pin all around, but I recommend sewing opposite sides together instead of starting at one corner and sewing all the way around the perimeter. It seems to reduce shifting and stretching of the batting this way:

I sew a 1/2 inch seam using my walking foot. I highly recommend using a walking foot if you have one. It will also help reduce stretching.

Make sure to leave about a 10 inch opening along one edge of your blanket.

Once you have finished sewing your blanket together, snip off the corners to reduce bulk.

Trim excess fabric around the entire perimeter of the blanket, except for right around the 10 inch opening. I like to leave the seam allowance on this section longer so that I have more fabric to work with once I have turned it and am tucking it in to press and sew closed.

Now open up your blanket at the opening, reach in, and pull the right sides out.

Using a crochet hook or another turning tool, poke your corners out, and press.

Now, pinning the opening closed, press the entire perimeter.


Once the entire edge is pressed, take a needle and thread and sew your opening shut. I prefer using a blind stitch.

At this point, tie your blanket. (I recommend tying the blanket over quilting, because at this point, the blanket is bound and there is not a lot you can do about any shifting or puckering if you were to quilt it. However, a very large and simple straight line design may work if you decide to try quilting it. I have never done it myself, though, so I can't say how well it would work.)
Another option if you want a quilted look is to quilt the top onto the batting before you add the backing fabric. However, you would still need to either tack or tie the backing fabric onto the front fabric once your envelope binding is done.
Now that your blanket is tied, this is how your envelope binding looks:

Definitely nothing wrong with it, and you could leave it like this and your blanket would be just fine. However, I like to add one last step and sew a 1/2 inch edge around the perimeter of the blanket. It gives it the look of being bound, and is a nice finishing touch.

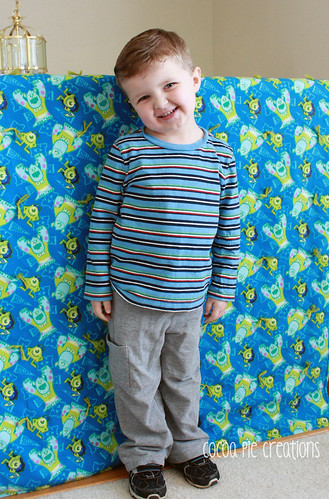
And there you have it! A fast, easy blanket with a sweet, envelope-bound edge...

...and one very happy boy!
Linking Here:
Fabulous! I will definitely come back to this. My kids are all older but they are always wanting blankets, and I love making anything I can finish in one day.
ReplyDeleteExcellent tutorial. I always have trouble with binding but this makes it seem so easy.
ReplyDeleteI do this a lot, especially for throw size quilts. I just didn't know it was called an "envelope binding".
ReplyDelete