

Tuesday, December 25, 2012
Monday, December 24, 2012
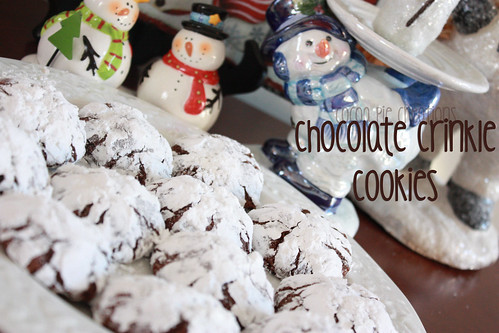
Kid Friendly Food (AND Holiday Tradition!): Chocolate Crinkle Cookies
Mr. Pie didn't bring a lot of Christmas traditions to our family when we got married, which was hard for me, because I come from a big family full of tradition. Games and movies and outings and recipes...there was so much I wanted to bring from my Christmas experience to our family!
But in the beginning, I felt like I really needed to scale back because:
A) Mr. Pie didn't seem to really get into Christmas, and
B) I felt like I would be steam-rolling right over him if I bombarded him with all the things I wanted to bring over from my family.
So really, until we had kids, our Christmases were rather quiet.
However, there was one tradition he did bring... Chocolate Crinkle Cookies.
Every year, the one thing that did seem to make him happy during the holiday season was the package of Chocolate Crinkle Cookies that usually arrived either from his mom or his sister.
According to my husband, they were his grandfather's favorite cookie, and his grandmother would make them every Christmas.
Eventually, the packages stopped being sent from his mother, and the responsibility of carrying on this one tradition for my husband fell to me.
Well, this is definitely a Christmas Tradition I can get behind!
But what's even better is that I now have three little boys who like to help/watch me make "Daddy's Special Christmas Cookies", as they are otherwise known at our house.
And I have a feeling these cookies will become a strong Christmas tradition for them in the years to come. And that makes me happy.
And I have a feeling these cookies will become a strong Christmas tradition for them in the years to come. And that makes me happy.
(recipe taken from the Betty Crocker Cooky Book)
1/2 c. vegetable oil
4 oz. unsweetened chocolate, melted and cooled
2 c. sugar
1 T. vanilla
4 eggs
2 c. flour
2 t. baking powder
1/2 t. salt
powdered sugar
In large bowl, mix oil, chocolate, granulated sugar and vanilla. Stir in eggs, one at a time. Stir in flour, baking powder and salt. Cover; refrigerate at least 3 hours.
Heat oven to 350°F. Grease cookie sheet with shortening or cooking spray.
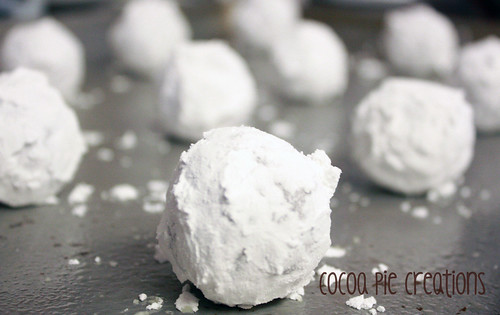
Drop dough by teaspoonfuls into powdered sugar; roll around to coat and shape into balls. Place about 2 inches apart on cookie sheets.
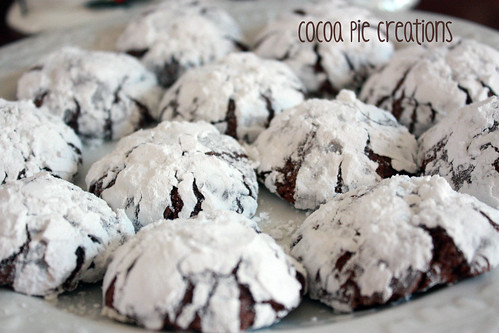
Bake 10 minutes. You want them to still be slightly soft in the center. Immediately remove from cookie sheets to cooling racks.
Tips:
Although it says to just drop the dough into the powdered sugar, I actually roll the dough into a ball before rolling in the sugar.
I also bake these only for 10 minutes. I have found if they are baked longer they will dry out more quickly.
Enjoy!
Sunday, December 23, 2012
Christmas Time Is Here
Christmas is just about here, and before it is time to pack up all the decorations once again, I thought I would post a little photo tour of the Cocoa Pie Christmas House 2012:
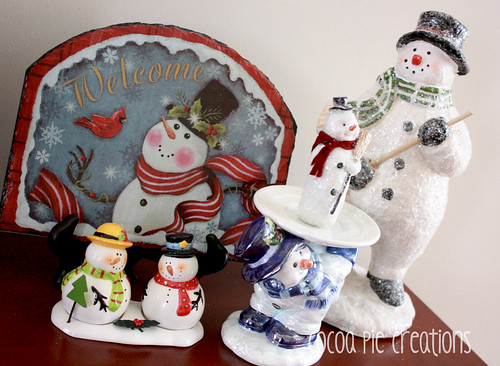
Snowmen
Here is our little snowman collection. It started with just the blue snowman candle holder, which was just a random decoration I had from before I was married. Over the years we have slowly added to our snowman family. The newest addition is the little guy in the red scarf perched on top of the original blue candle holder snowman.
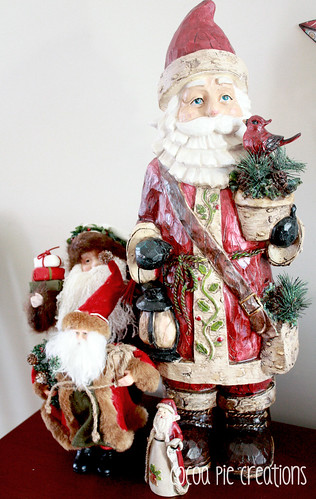
Santas
This is one of two Santa vignettes I have set out. My favorite is the big Santa, which is new to our house this year.
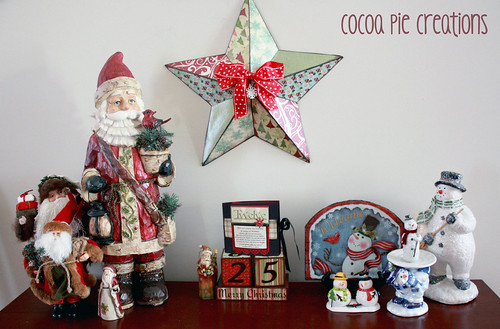
Here is a look at the entire set up, including some countdown blocks that one of my best friends made for me last year, as well as the advent book that she made for me this year, and the paper covered barn star I made this year:
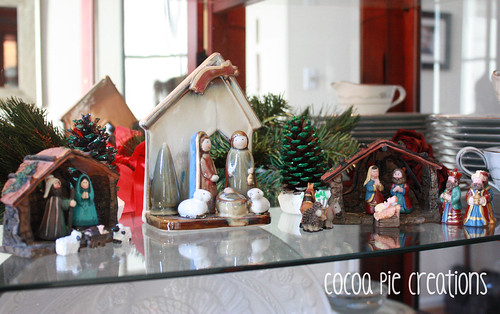
Nativities
For a long time, these little mini nativities were the only ones I had. My mom has sent me all of them. There is a bookstore in Utah, Deseret Book, that usually offers a small nativity for a super cheap price if you buy a certain dollar amount of product. So my mom will usually buy one for me and my sisters as she does her Christmas shopping there.
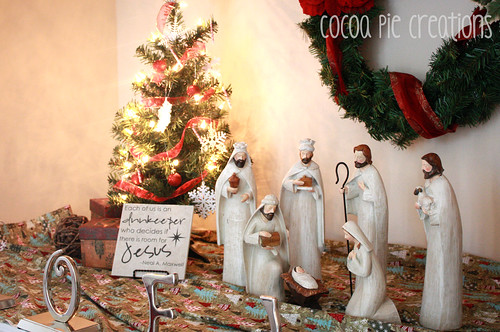
After 8 years of marriage, I finally bought myself a full-sized nativity set. I have been wanting one since before I was married, but just never found one that I liked. This year, especially because the boys are old enough to really start understanding the real reason for Christmas, I knew I needed to get one.
I found this one at Hobby Lobby the first week of September. I knew from an earlier experience at Hobby Lobby that if I saw something I liked, I needed to get it because they don't restock their seasonal products. So, I bought it for 50% off and stuck it in my closet until it was time to decorate.
Poor Joseph has already had his hand broken twice. It made me sad, but with three little boys in the house, what can you do?
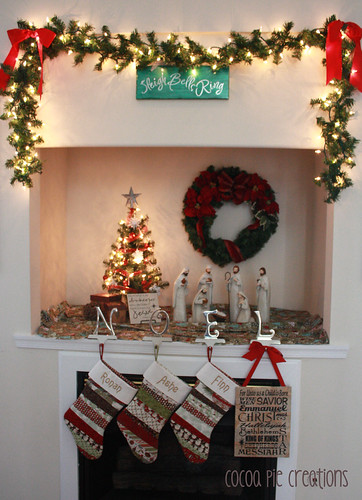
"Mantel"
And here is a photo of the stockings I made a few months ago actually hung by the fireplace:

And here is a full view of my weird fireplace. It's not a mantel. It's one of those media center nooks that I hate. I do the best I can, but it is really hard to decorate this weird, stupid nook.
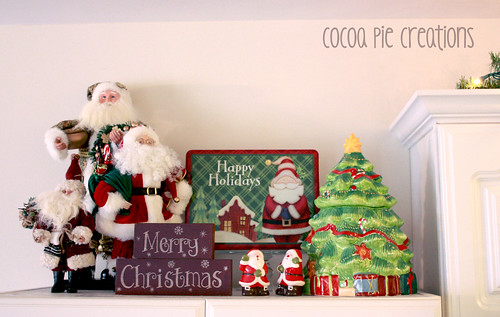
Cupboard
I have a small cupboard in my kitchen that is the perfect place for various decor. So, my second Santa vignette lives up here during the holidays, including an "Irish" Santa that I found and bought to incorporate Mr. Pie's Irish heritage, along with a Christmas tree cookie jar my mom bought me the year my twins were born while she was visiting over Christmas, some little Santa salt and pepper shakers, a cute tin my sister-in-law sent full of cookies one year, and some "Merry Christmas" blocks my sister gave me a few years ago as a Christmas gift.
You can see in the top right corner of the photo the lighted garland that decorates the top of my kitchen cupboards, as well.
And there you are, a little peek into my home, and some of the things that we call Christmas.
I love to put things up that have a story and meaning behind them. I guess I am a little sentimental that way, but I like being able to have a happy memory of a person or event every time I unpack these decorations.
Now go and have yourselves a merry little Christmas.
Thursday, December 20, 2012
A Little Thing
I made my niece a baby doll quilt (among other things I will post about soon) for Christmas. I am also making a gift for her mom, my sister.
As I was finishing up my niece's quilt, I decided to use some of the binding scraps and make this little pincushion for my sister as an add-on to her gift.
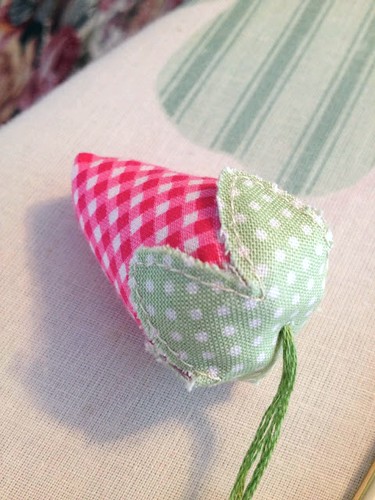
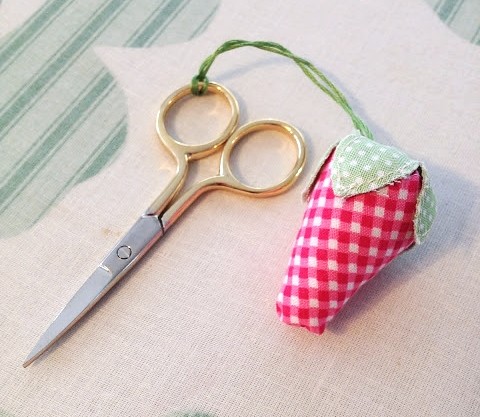
I followed the pattern exactly. It took me about 15 minutes from start to finish.
And I love it so much, I am going to make one for myself and one for my other sewing sister :)
Tuesday, December 11, 2012
Back from Hiatus
I have had a lot going on the past few few weeks. We had family visit for Thanksgiving and took an impromptu trip to North Carolina in between all the normal craziness of the Holiday season kicking into high gear.
While I have been sewing (frantically at times!), I have also had a couple of other projects going on that took priority simply because they had deadlines.
I taught a class at my church on my paper-covered barn stars the week before Thanksgiving.

I am also in the Primary (Children's organization) Presidency at my church, and with the new year comes a new theme and just a general renewal of all the materials we use throughout the year. My current project for Primary was making new binder covers for the Presidency and all the teachers.
Below is a sample of one of the teacher binders. Even though now that they are done I wish I had used the same red paper on the text and the list, I think they turned out really cute!

While I have been sewing (frantically at times!), I have also had a couple of other projects going on that took priority simply because they had deadlines.
I taught a class at my church on my paper-covered barn stars the week before Thanksgiving.

I wish I could say it was a smashing success, but I have come to realize that there are a lot of people out here (I live in rural-ish Virginia) that have probably NEVER paper crafted before. While it should have been a simple "cut and paste" project, I think a lot of people that took it were overwhelmed. Oh, well.
I am also in the Primary (Children's organization) Presidency at my church, and with the new year comes a new theme and just a general renewal of all the materials we use throughout the year. My current project for Primary was making new binder covers for the Presidency and all the teachers.
Below is a sample of one of the teacher binders. Even though now that they are done I wish I had used the same red paper on the text and the list, I think they turned out really cute!

(The empty block is where the class, children's names and birthdays go.)
I used a free kit from Summertime Designs to make the covers. She has some really lovely kits, and they are amazingly all FREE!
Subscribe to:
Posts (Atom)